Peach Butter – The Daring Cooks Challenge
This month’s Daring Cooks Challenge could not have been timelier since I have become the Dancing Canning Queen this Summer (the two are actually very similar!). The challenge was hosted by John from Eat4Fun and he wanted us to all do something related to Food Preservation. Since this topic is near and dear to my heart, I was ready for the challenge!
John chose this challenge because “It is a topic that takes advantage of the time of year where, in the Northern Hemisphere, our gardens and local farms should be harvesting an abundance of fresh fruits and vegetables. For this month’s challenge, I hope to whet your appetite on the vast topic of Food Preservation. Food preservation is a broad subject covering canning, freezing, drying, pickling, fermentation and jam making, but for this challenge the focus will be on freezing and home canning. The main recipe for our challenge will be apple butter. However, a couple additional recipes are provided for a little added variety.
Why Preserve Foods?
There are many reasons – save the harvest from our garden for later in the year, control the ingredients that go into our food, nostalgia (memories of our parents or grandparents), make gifts, satisfaction of making it yourself… etc. For me, it’s curiosity, controlling what I eat and just the satisfaction of making it myself.”
I would definitely have to agree with John on all of the reasons for preserving foods. The Bunkycooks have nearly killed each other really enjoyed the canning and food preserving process this Summer. We have already decided to pop the top on many of the fruits, vegetables and jams that have we have canned this Summer! I can tell you that there is nothing better or more satisfying than eating foods that you know where they came from and that you have lovingly prepared and preserved.
Since I was on a roll with buying lots of peaches this Summer and put peaches into all sorts of things like Peach Freezer Jam, Brandied Peach Ice Cream, Peach Sorbet, Peach Cheesecake Pots with a Biscotti Crumble and a Summer Fruit and Berry Crisp…I figured why not one more peachy recipe! Since the South Carolina peaches were so plentiful and oh, so sweet this Summer, I made some Peach Butter!
Peach Butter takes a bit longer to make than a jam. You need to cook it and keep stirring it for a really long time. There is no pectin in this recipe, so you are relying on the natural pectin in the fruit and the sugars to thicken the mixture. Do not cut back on the amount of sugar called for in the recipe as this will affect the thickening and setting up process of the peach butter.
Also, be sure to not use overripe fruit. This will cause your final product to be runny. Patience is a virtue when making this one, but it will be well worth your time! The peach butter will be ready when it holds it’s shape on a spoon, which took me over an hour of cooking and stirring to get to that stage. Alternatively, to check for doneness, you can put a plate in the freezer. Drop a small amount of the butter on the plate when you think it is done. When the mixture no longer forms a watery ring around the edges, you are ready to can!
Peach butter is then processed in a boiling water canner for ten minutes. You will need to make adjustments in cooking times for high altitudes (which is considered anything above 1,000 feet). You can refer to this online tutorial on the Ball website to get more specific instructions on canning. There is also this PDF download that will explain more about high altitude adjustments.
Although canning may initially seem somewhat daunting, it really is very simple once you do it a few times and nothing will be better than what you prepare in your kitchen from your own fresh fruits and vegetables (or the Local Farmers’ Markets)! Thank you John for hosting this challenge and making more people aware of the benefits of canning. This recipe has the Mr. Bunkycooks stamp of approval, which means I will never buy peach butter again!
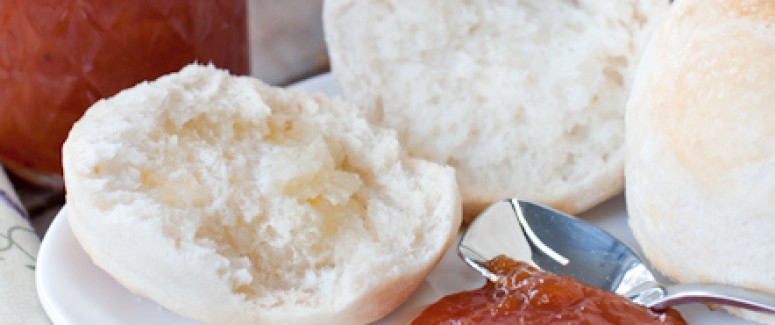
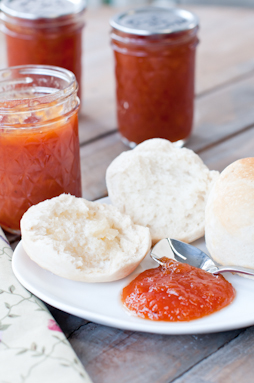
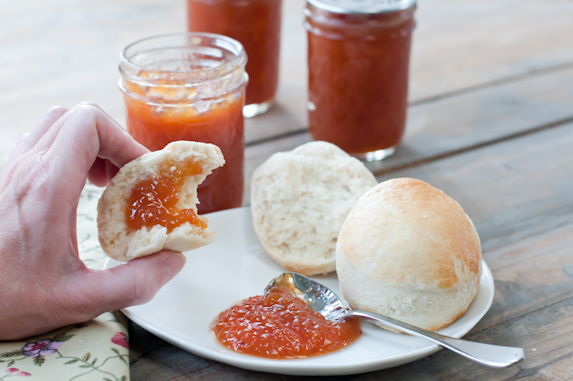
Now, go bake up a batch of big, fat, fluffy biscuits and plop a heaping tablespoon (or two!) of fresh Peach Butter on top (with a pat of butter, of course) and enjoy the fruits of your labor!

Peach Butter
Adapted from Ball, The Complete Book of Home Preserving
Makes eight 8-ounce jars
Ingredients:
4 1/2 pounds peaches, peeled, pitted and coarsely chopped
1/2 cup water
Grated zest and juice of one lemon
4 cups sugar
Directions:
In a large stainless steel saucepan, combine peaches, water and lemon zest and juice. Bring to a boil over medium-high heat. Reduce heat and boil gently, stirring occasionally, until peaches are soft, about 20 minutes.
Working in batches, transfer peach mixture to a food mill or food processor fitted with a metal blade and puree just until a uniform texture is achieved. Do not liquefy. Measure 8 cups of peach puree.
In a clean, large stainless steel saucepan, combine peach puree and sugar. Stir until until sugar dissolves. Bring to a boil over medium-high heat, stirring frequently, until mixture thickens and holds its shape on a spoon. (You can also test for doneness by placing a small amount on a plate that has been in the freezer. If the peach butter does not have a liquid ring around the dollop that is placed on the plate, then it is done). * Mine took over an hour to cook until the desired consistency. You also may need to turn down the temperature periodically to avoid scorching.
Prepare canner, jars and lids, as directed for sterilizing (refer to links above).
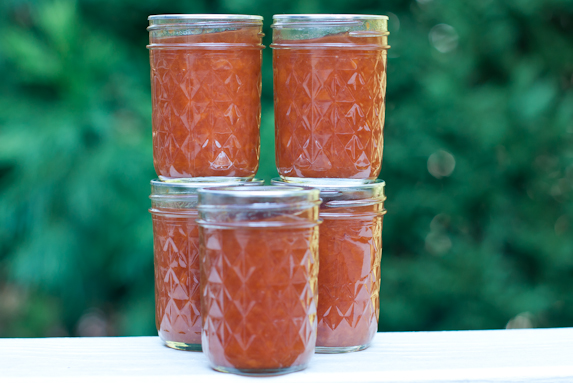
Ladle hot butter into hot jars, leaving 1/4 inch headspace. Remove air bubbles and adjust headspace, if necessary, by adding more hot butter. Wipe rims with clean towel. Center hot lid on jar. Screw band down until resistance is met and is tight.
Place jars in canner and make sure jars are completely covered with boiling water and process for 10 minutes. Make adjustments depending on altitude. Wait 5 minutes, remove jars, cool and store.
* Be sure to follow proper canning and sterilization procedures for the boiling water canning process to ensure the safety of your food.


